First Setup: Customer with on-prem Exchange
Introduction
This implementation guide covers the first setup of MailStore Cloud for customers that are using their own on-premises Exchange Server. The guide includes many links to help pages that provide more detailed information about various topics.
It is assumed that you received your registration information including username, password and the login URL via mail. If you did not receive this information, please contact the MailStore support.
Prerequisites
Make sure your exchange server is accessible by MailStore Cloud (e.g. Firewall rules) and that supported authentication mechanisms are enabled for Exchange Web Services (EWS). MailStore Cloud supports NTLM and Basic Authentication.
Login
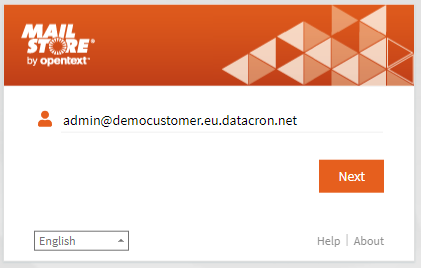
As a first step, please use the credentials that were provided to you to login to the administrative web access (short “Admin Access”). Please make sure that the URL ends on “/adminaccess”. You will notice that your username looks like a mail address, consisting of a name and a domain. The domain is used to identify you as a customer within MailStore Cloud. It cannot be used outside of MailStore Cloud, i.e. you cannot send mails to it or use the domain in your browser. In the screenshot below, you can see the username for a customer with customer name “democustomer”.
Admin Access at a Glance
After you have successfully logged in, you will see the dashboard of the Admin Access. It presents you with basic information about your tenant and points out inconsistencies in your configuration. You should check the dashboard from time to time to make sure everything is working smoothly.
The main menu of the Admin Access on the left provides access to both configurations and the process log. During this first setup, only a few of the sections of the Admin Access will be needed.
Create a Secret
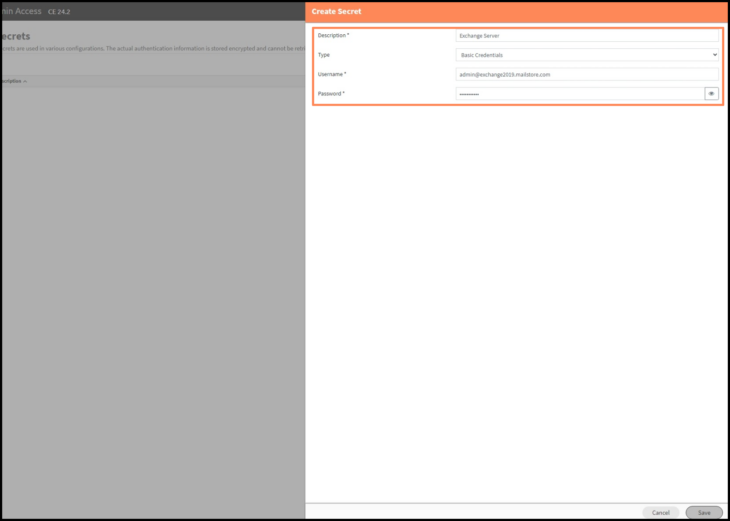
To create a secret:
- In the AdminAccess, navigate to the Secrets tab in the Compliance section.
- Enter a meaningful description in the Description text field.
- Select Basic Credentials in the Type dropdown menu.
- Enter a username and password of a user who has access to the directory service.
Note: The username must be in UPN notation, e.g. [email protected] - Click Save.
Create Directory Service Configuration
To create a Directory Service Configuration:
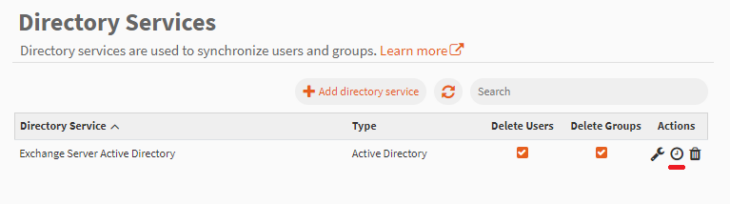
- In AdminAccess, navigate to Directory Services and select Add directory service.
- Enter a name in the Name text field.
- In the Type dropdown, select Active Directory.
- Enter your server’s address, e.g exchange.your-domain.com
- Select the domain the users/groups should be added to inside MailStore Cloud.
Note: The default domain provided by MailStore can be used. A new one can also be created in the Domains section in User Management.
Usernames in MailStore Cloud will be of the format <name in exchange>@<domain>. - Check if any deleted users/groups from the exchange server should also be deleted in MailStore Cloud.
- Select the Credentials that were created in the first step.
- When all mandatory properties are filled you can click on the Test Connection button to test the given configuration. A new dialog will open and show the result of the connection test.
- Click Save

Create a Schedule to run the Directory Service Synchronization
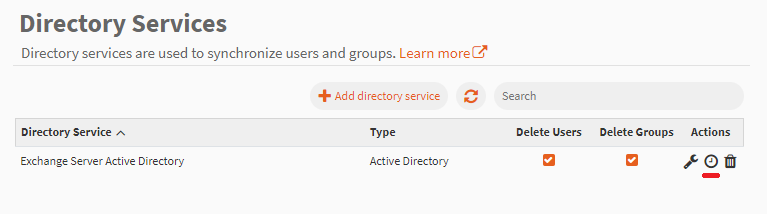
To create a Schedule to run the Directory Service Synchronization:
- In the Directory Service list, click the clock icon on the previously created directory service configuration.
- Select the recurrence. The directory service synchronization should be executed periodically, e.g. once every day.
- Click Save.
The schedule should now be executed at your selected timeframe. You can find a log for the execution under Process Log in the Compliance section. A schedule can also be created or edited in the Schedules section in the Archiving section.
The directory service synchronization will synchronize the following data:
- MailBoxes
- Users
- Groups
Configure a group to grant access to WebAccess
To enable the users to have access to their archive, the Reader role needs to be added to the user through a group permission.
To configure a group to grant access to WebAccess:
- In Admin Access, navigate to Groups.
- Select a group containing all users who need access to WebAccess. If one does not exist, create a new group, and add those users.
- Edit the group’s permissions by selecting the wrench icon.
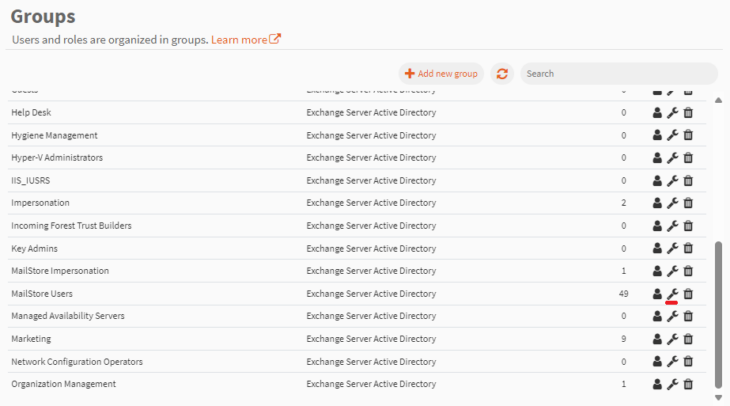
- Select the Reader role for the user group.
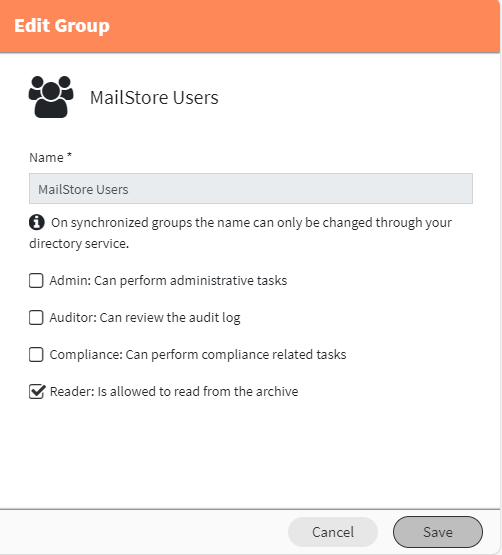
- Click Save.
After adding the Reader role it should be possible for the synchronized users to log into WebAccess.
Adding the “Admin” role to a synchronized user
The Admin role should also be added to one of the synchronized users to gain access to AdminAccess.
To add the Admin role to a user:
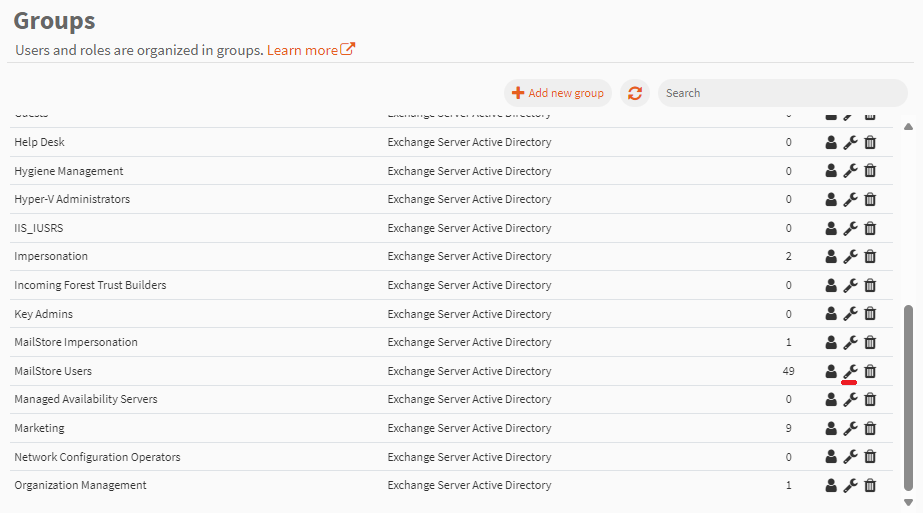
- Navigate to the Groups section in AdminAccess.
- Select a group containing the users who need access to AdminAccess. If one does not exist, create a new group, and add those users.
- Edit the group’s permissions by selecting the wrench icon.
- Select the Admin role.
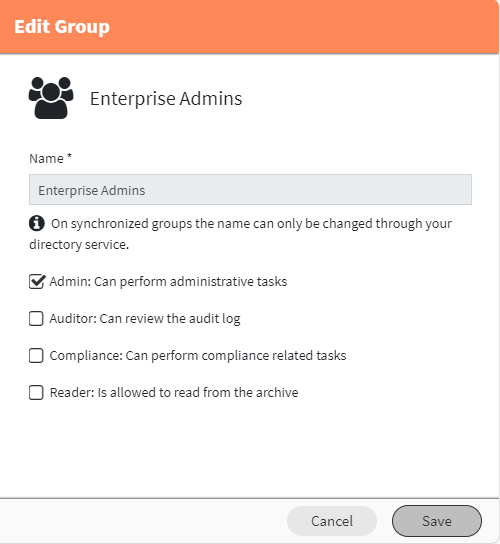
- Click Save.
You could now log out and log in again with one of the synchronized admin users. The provisioned (not synchronized) admin can be deleted.
Setup Journaling
The two types of journaling available in Microsoft Exchange 2019 are standard and premium journaling:
- Standard journaling is configured on the mailbox database level, and records all sent and received emails of that database.
- Premium journaling allows to limit journaling to particular recipients or distribution lists through rules; furthermore, internal and external emails can be treated differently. Additionally, premium journaling rules are replicated throughout the whole Exchange organization.
Method 1: Standard Mailbox Journaling
Log on to the Exchange admin center of your Microsoft Exchange environment as an Exchange administrator.
- Choose the recipients menu item.
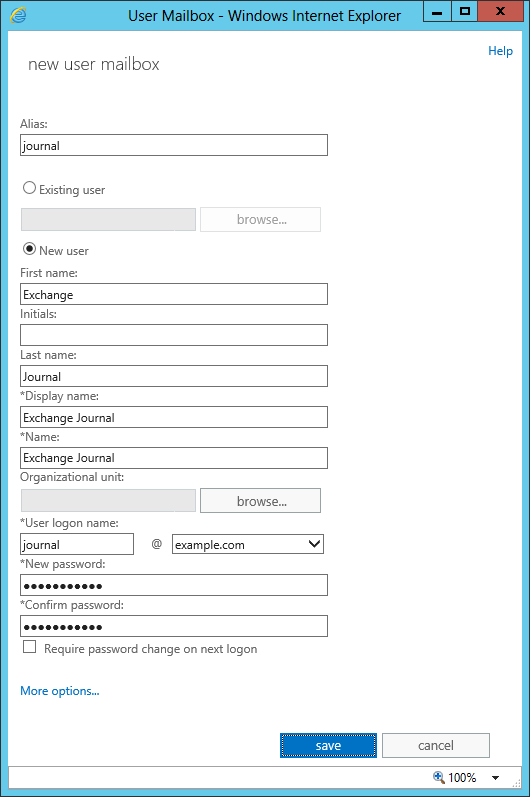
- In the mailboxes section, click on + (New) and select User Mailbox.
- Enter a valid Alias (e.g. journal).
- Select the option New user. Enter the necessary data to create a new user.

- Click More options…
- Select Browse to select a mailbox database.
- Click Save. The new user and corresponding mailbox are created.
In MailStore Cloud you need to re-run the Directory Service Synchronization to add the new created user and mailbox. To do this:
- Navigate to the Exchange admin center of your Microsoft Exchange environment.
- Select the Serversmenu item.
- On the Databases tab, double click on the mailbox database for which you want to set up journaling.
- Select the Maintenance tab.
- Click on browse…
- Select the user that was created from the recipient list and confirm by clicking OK.
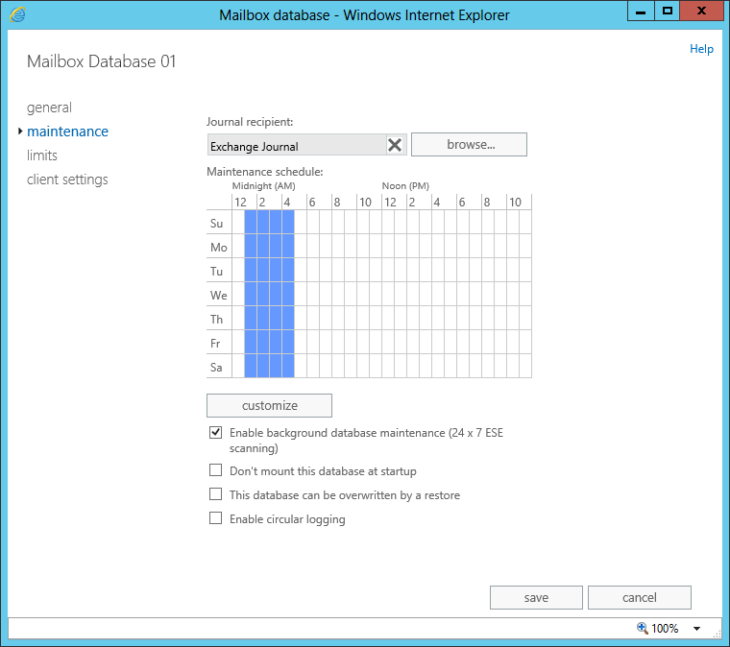
- Click save to confirm the changes.

In MailStore Cloud, create a secret to login to the journal mailbox:
- Navigate to the Secrets section.
- Click Add secret.
- Enter a name in the Description text box.
- In the Type dropdown menu, select Basic Credentials.
- Enter username and password of the user created for the journaling in prior steps.
In MailStore Cloud, create an archiving profile:
- Navigate to Archiving Profiles.
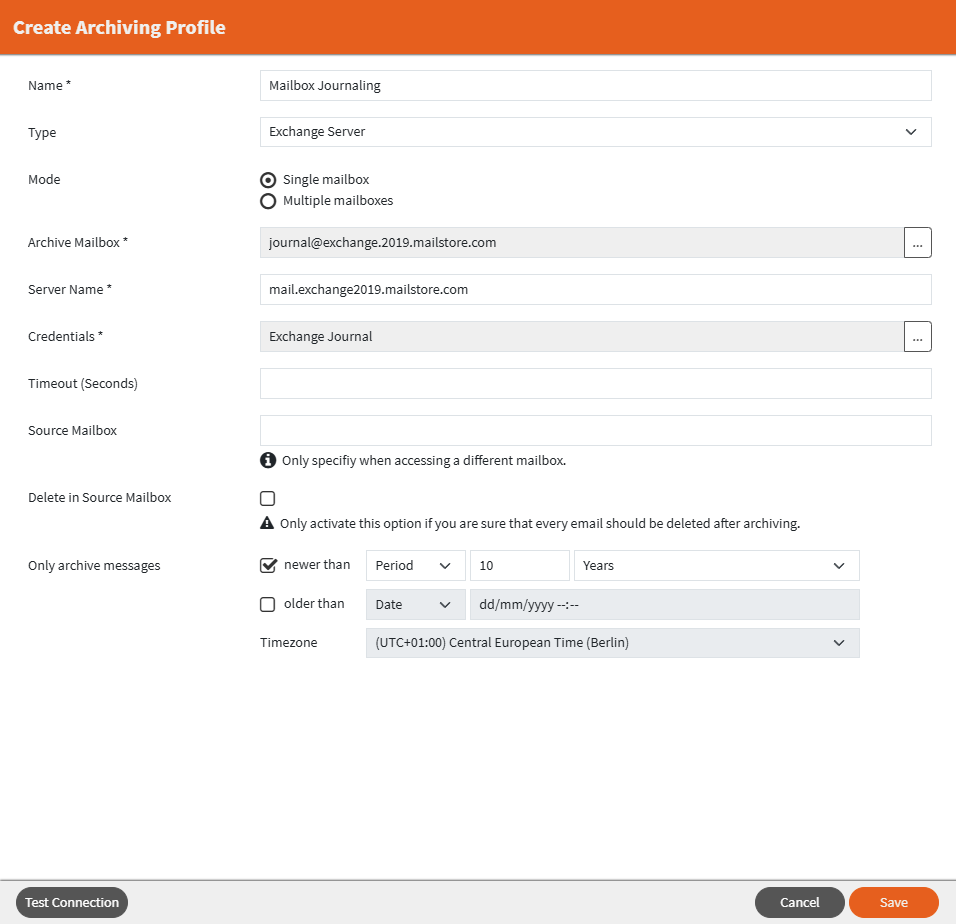
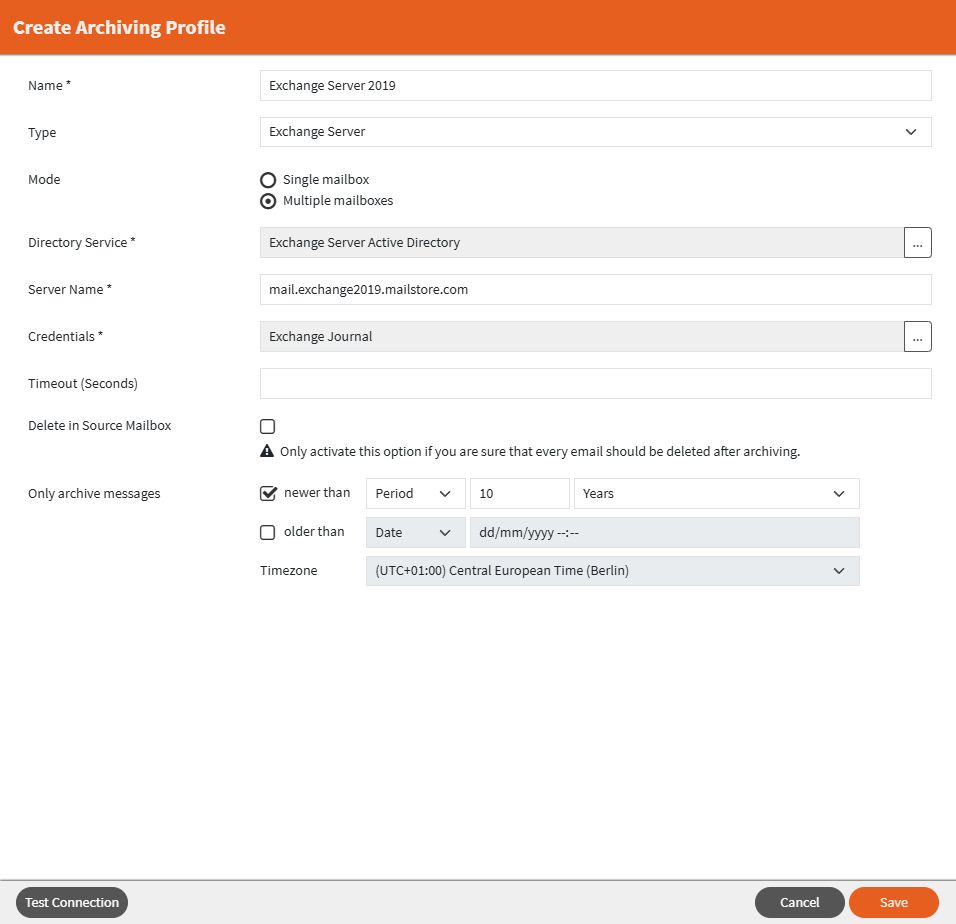
- Click Add archiving profile.
- Enter a name in the Name text field.
- In the Type dropdown menu, select Exchange Server
- For mode, select Single mailbox.
- Select the mailbox previously created for journaling.
- Enter the exchange server’s hostname.
- Select the Credentials created in the previous step.
- The timeout can be left empty to use the default.
- Choose the filter appropriate for your use case, e.g. messages of the last ten years, or leave it empty.
- When all mandatory properties are filled you can click on the Test Connection button to test the given configuration. A new dialog will open and show the result of the connection test.
- Click Save.
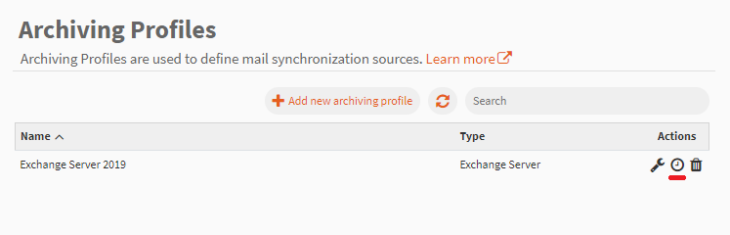
- In the Archiving Profiles list, click the clock icon on the previously created archiving configuration.
- Select the recurrence: Archiving the Journal Mailbox should run periodically.
- Click Save.
Method 2: Exchange 2019 Premium Journaling
Premium Journaling is used to push emails from the mailing system (in this case Exchange Server) directly into the archive.
Notice: Premium journaling requires Exchange Enterprise CALs.
Create a Journaling Endpoint in MailStore Cloud
- AdminAccess -> Journal Endpoints -> Add journal endpoint
- Give a name
- Select a journaling mailbox. You should create a new mailbox in MailStore cloud only used for journaling. You can create a new mailbox directly from the “Select Mailbox” dialog by clicking on the + button.
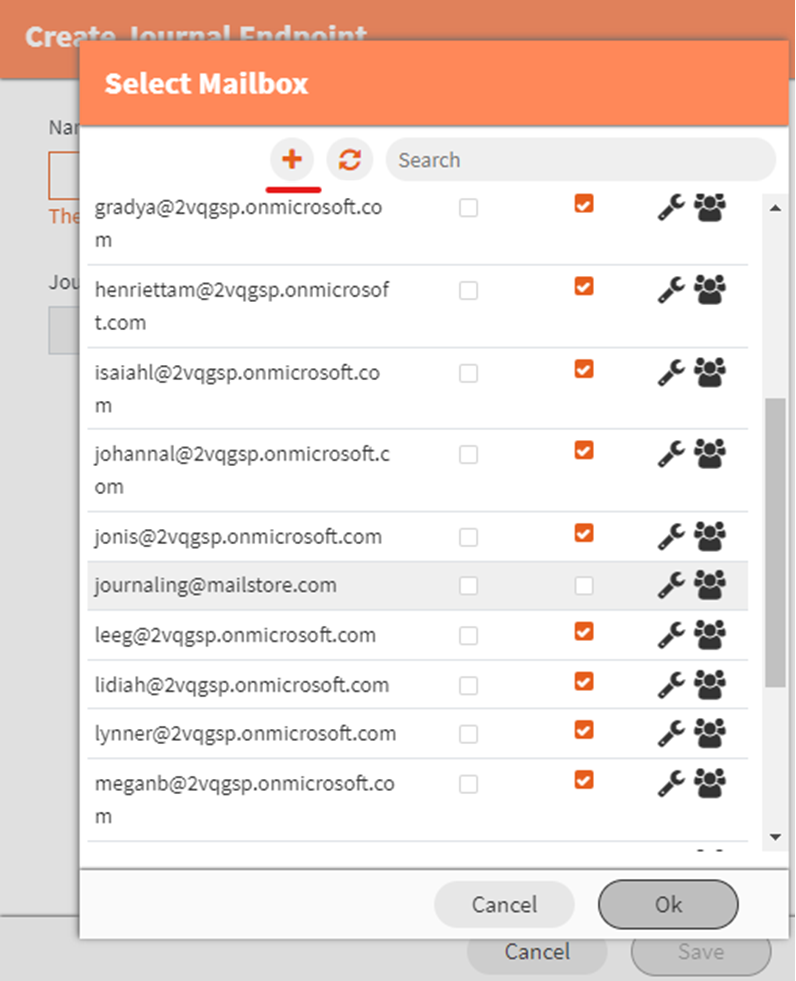
Click on “Save”. After save the dialog will stay open and show a “SMTP Address” entry which can be copied: This will be used in the next step.
Configure Journaling in Exchange 2019
- Log on to the Exchange admin center of your Microsoft Exchange environment.
- Select the compliance management menu item.
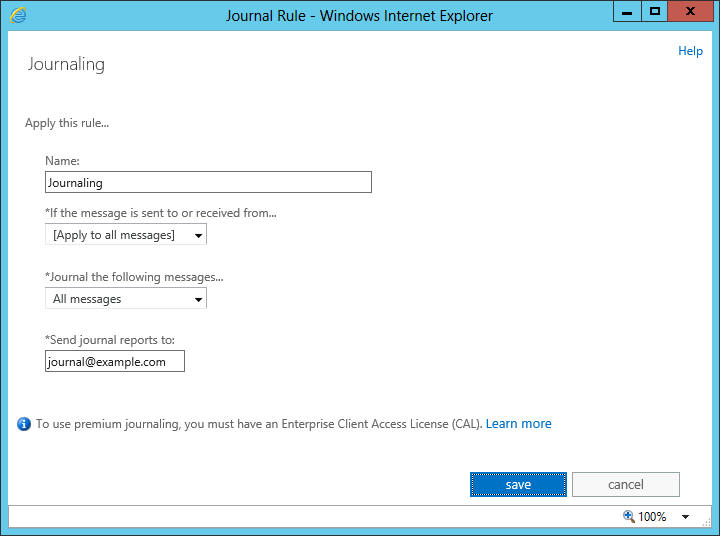
- On the journal rules tab, click on + (New).
- Enter a name for the journal rule, e.g. MailStore Journaling
- In the If the message is sent to or received from… section select whether the rule should apply to all messages or to specific users or groups.
- Under Journal the following messages…, choose whether to capture all messages, internally sent messages only, or only those messages with an external sender or recipient.
- Paste the “SMTP Address” value copied from the AdminAccess into the “Send journal reports to” field
- Click on save to activate the rule.
Please keep in mind that in complex Microsoft Exchange environments it may take several minutes until the new rule becomes effective.
Create an Archiving Profile
Mailbox Archiving should run once to archive all mails already existing. Future mails will be archived through Journaling.
To create an Archiving Profile:
- In AdminAccess, navigate to Archiving Profiles.
- Enter a name in the Name text field.
- In the Type dropdown menu, select Exchange Server.
- Select the Multiple mailboxes for Mode.
- Select the directory service from the previous step “Create a Directory Service Configuration”.
- Enter the Exchange server’s hostname.
- Select the Credentials created in the first step if that user is an impersonation user, otherwise create new credentials for an impersonation user.
- The timeout can be left empty to use the default setting.
- You can specify a date limit that makes sense for your use case or leave it empty.
- Click Save.
Create a Schedule to run the Archiving Profile
To create a schedule:
- In the Archiving Profiles list, click the clock icon on the previously created archiving configuration.
- Select the recurrence ‘As we use Journaling the archiving must only be executed once’.
A schedule with recurrence “Once” must always be timed at least 1 minute in the future for it to be executed. - Select Save.

The schedule should now be executed at your selected timeframe, you can find a log for the execution under Process Log in the Compliance section. A schedule can also be created or edited in the Schedules section.
Once the archiving schedule is successfully completed, the schedule and archiving configuration can be deleted.
Create a Folder Synchronization configuration
To create a Folder Synchronization configuration:
- Navigate to Folder Synchronizations in the AdminAccess.
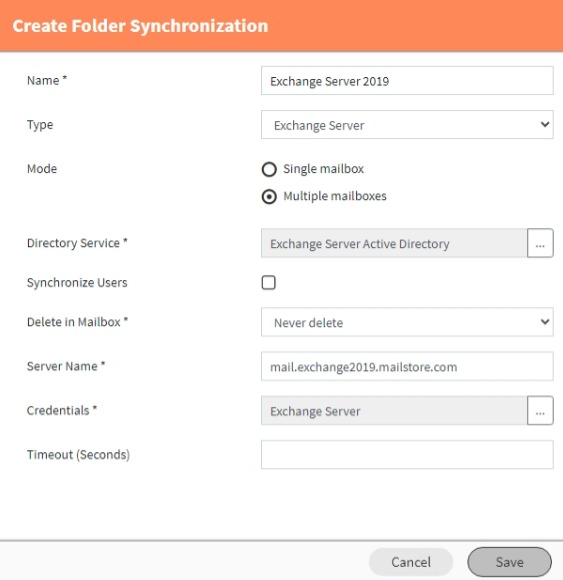
- Select Add folder synchronization.
- Enter a name in the Name text field.
- In the Type dropdown menu, select Exchange Server.
- Select Multiple Mailboxes.
- Select the directory service from the previous step “Create a Directory Service Configuration”.
- Select if you want to delete emails from the source mailbox once they have been archived and the foldersync ran successfully. The default option is “Never delete”.
You can also choose to run a directory service synchronization before the folder synchronization to refresh the users and groups. With that option you do not need a separate schedule for the directory service synchronization. The default for that option is “false”. - Enter the exchange server’s hostname.
- Select the Credentials you used during creation of the archiving profile, i.e. credentials of an impersonation user.
- The timeout can be left empty to use the default setting.
- Click Save.
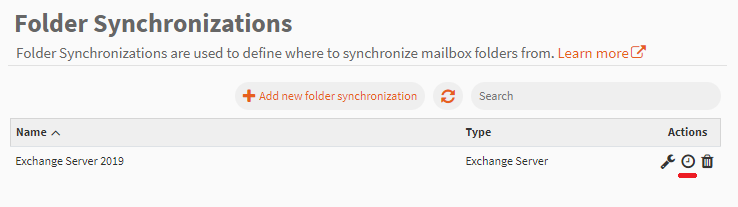
Create a Schedule to run the Folder Synchronization
To create a Schedule:
- In the Folder Synchronizations list, click the clock icon on the previously created folder synchronization configuration.
- Select the recurrence. The folder synchronization should be executed periodically, e.g. once every day.
- Click Save.

The schedule should now be executed at your selected timeframe, you can find a log for the execution under Process Log in the Compliance section. A schedule can also be created or edited the Schedules section.
Log in to WebAccess
You should now be able to log in to WebAccess with any of your synchronized users.

Compliance
You could now continue by setting up compliance rules for your archive.