First Setup: Compliance
Retention Policies
By default, MailStore Cloud retains archived emails forever and no emails will be deleted from the archive automatically. Manually, emails can only be deleted by users who have the Compliance role. Deletions by such users are then effective immediately.
With retention policies you can specify the maximum retention period of either all messages or only those that match certain search criteria.
At the end of the retention period messages will be deleted from the archive automatically by a corresponding retention policy deletion schedule.
Creating Retention Policies
- In Admin Access, navigate to Retention Policies.
- In the Retention Policies list, you can choose the retention policies’ reference date: The retention date can be calculated by the messages’ archive date (default) or message date.
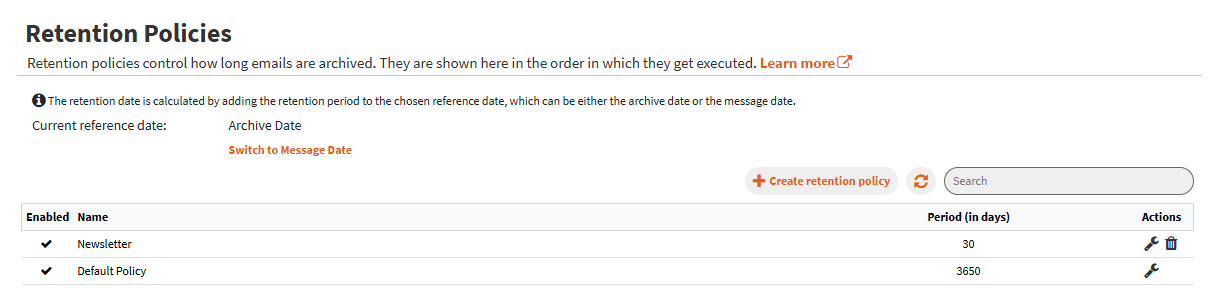
- Click on ‘Create retention policy’, the ‘Create Retention Policy’ section will open.
- Give the retention policy a meaningful name.
- Choose if the retention policy should be enabled and therefore executed.
- Fill in the retention period in days
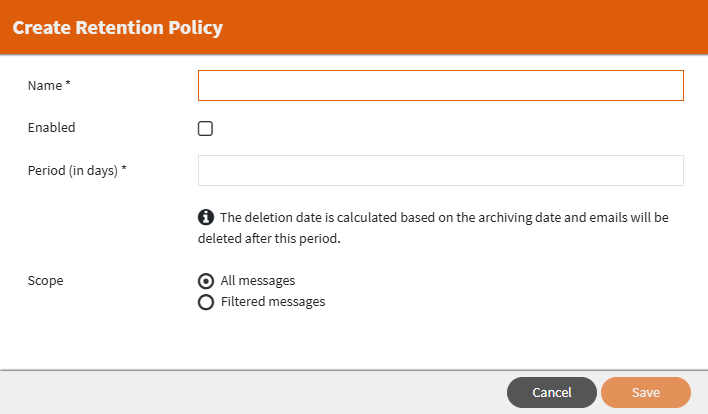
- Choose the scope of the retention policy. The policy can be executed for all messages or only for filtered messages.
- You can define a search term which must be included in one or more of the following search fields
- Subject
- Body
- Attachment Content
- Attachment File Names
- If a search term is provided, you must select at least one search field!
- You can also provide a ‘From’ email address.
- You can also provide a ‘To / Cc / Bcc’ email address.
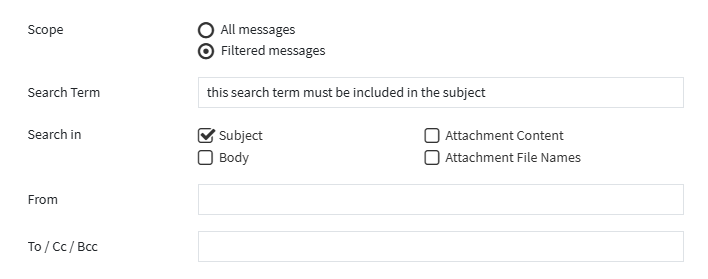
- All search criteria will be ‘AND’ combined, so if you provide a search term for ‘Subject’ and a ‘From’ email address, the retention policy will only be triggered for an email where the subject contains the search term and which was sent from the specified ‘From’ mail address.
- Click on ‘Save’ to save the retention policy.
Important: The retention policy will only be executed by a set of schedules, only creating and/or enabling it will not trigger the retention policy!
Creating a “Recalculate Retention Date” schedule
- In Admin Access, navigate to Schedules.
- Click on ‘Create schedule’, the ‘Create Schedule’ section will open.
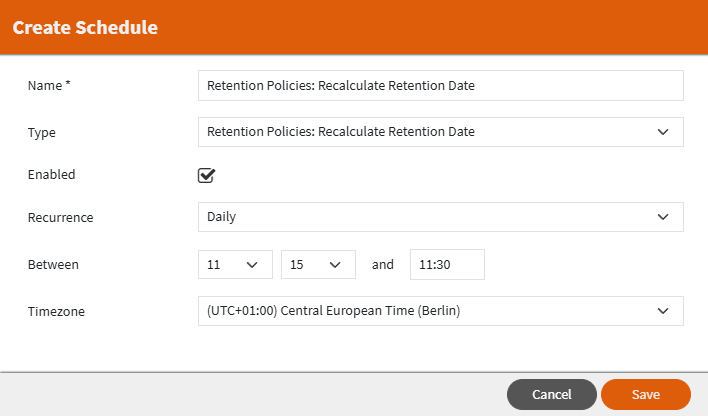
- Select the type ‘Retention Policies: Recalculate Retention Date’
- The name of the schedule will automatically be set, you can also give a custom name.
- Select the recurrence. The recalculation should happen periodically, the default is daily.
- Save the schedule.
After the schedule was executed the first time, you can see the retention date on each email affected by any retention policy in the Web Access.
Creating a “Delete Messages” schedule
- In Admin Access, navigate to Schedules.
- Click on ‘Create schedule’, the ‘Create Schedule’ section will open.
- Select the type ‘Retention Policies: Delete messages’.
- The name of the schedule will automatically be set, you can also give a custom name.
- Select the recurrence. The deletion should happen periodically, the default is daily.
- Save the schedule.
The schedule will now delete all messages with an expired retention date.
Switching the reference Date
Clicking the link “Switch to Message Date” (or “Switch to Archive Date” if already referencing message date), you will be prompted with a confirmation dialog:
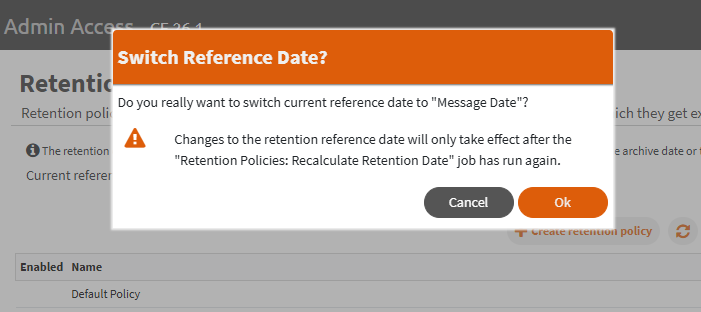
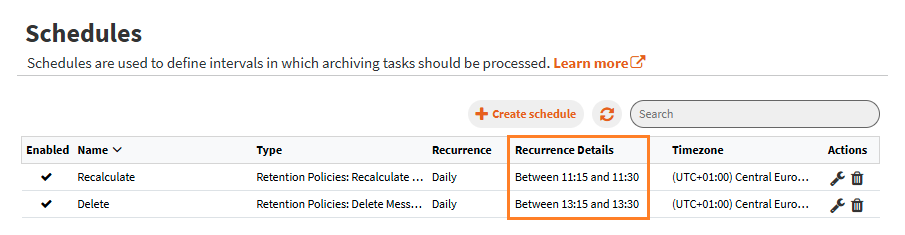
The dialog explains that for the change to take effect, the “Retention Policies: Recalculate Retention Date” job has to run to completion again. To ensure exact-to-day deletion precision for the “Retention Policies: Delete Messages” job, it’s good practice to schedule it with adequate delay after the recalculation job:
Legal Hold
Legal hold can be used to generally prevent the deletion of emails from the archive. It prevents emails from being deleted from both compliance users and retention policies.
- In Admin Access, navigate to Legal Hold.
- You can see the status of the current legal hold setting.

- Click on ‘Activate / Deactivate legal hold’ to change the current status.
- You must provide a reason to change the legal hold status.
- The status change and reason will be visible in the audit log.