Deprecated feature: Migrating data to MailStore Cloud using Import Endpoints is a deprecated feature and will be removed in a future version. Please use the migration via SFTP uploads instead: Migration from MailStore Server to MailStore Cloud
![]() To be able to import an existing MailStore Server archive, an import endpoint needs to be created.
To be able to import an existing MailStore Server archive, an import endpoint needs to be created.
Follow this Quickstart Guide to see how to import data from MailStore Server into MailStore Cloud.
Import Endpoints
The Import Endpoints page has various features that can be used to manage your import endpoints:
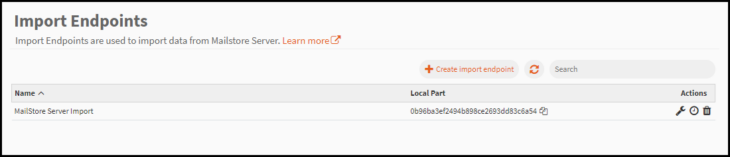
- Create import endpoint – Creates a new import endpoint from the beginning.
- Refresh – The refresh icon can be utilized if needed to refresh the page.
- Search – Search is an implicit search over Name and ID:
- Name is a case insensitive “includes” search.
- ID is a case insensitive “equals” search.
- Copy local part – Copy the local part to be used to setup email export in MailStore Server
- Actions
- Edit – To edit the selected endpoint.
- Create Schedule – Define a schedule to execute a folder synchronization for this import endpoint. Learn how to create a Schedule here.
- Delete – To delete the selected endpoint.
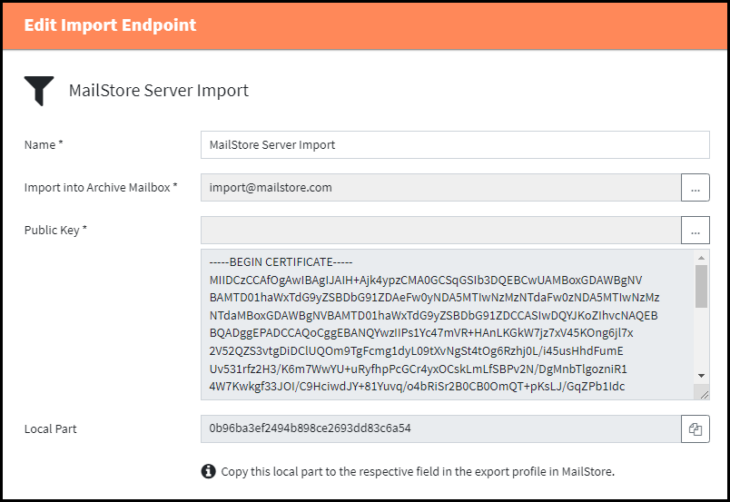
Create / Edit Import Endpoints
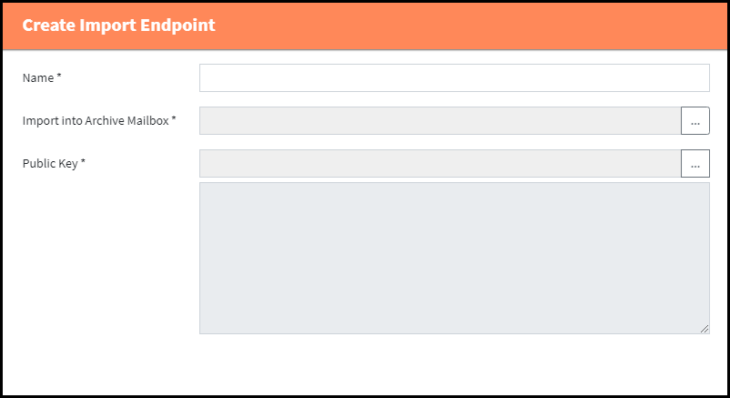
- Name
- The user should select a unique name that is relevant to the profile.
- The name can be edited later.
- Import into Archive Mailbox
- Mails received during the export from MailStore Server or SPE will initially be stored in this mailbox.
- The user can select an existing mailbox or create a new mailbox using the […] button
- The archive mailbox does not need to be a real mailbox, it can be a mailbox only existing in MailStore Cloud
- Public Key
- The public key exported from MailStore Server or SPE.
- Download the file from MailStore Server or SPE and upload it here.
After creating a new Import Endpoint, the ‘Edit’ dialog will open where the generated local part can be copied to be used in the MailStore Server export profile.